Homebrew Projects
Browse Featured Projects
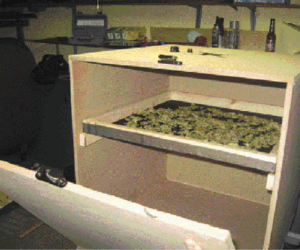
Sure, you could dry your homegrown hops on an old screen, but wouldn’t you rather build your own oast?
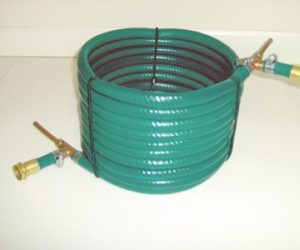
Chill on the cheap by building your own counterflow wort chiller for about forty bucks. With one trip to the hardware store and about an hour of build time, you can be chilling your wort quickly and efficiently with this "cool" project. Plus: A Rundown of Different Chilling Options
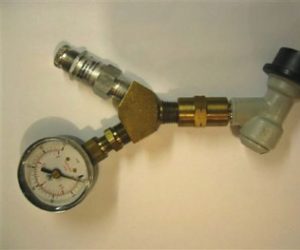
With this homemade spunding valve you can naturally carbonate your homebrew by capturing the carbon dioxide produced late in fermentation just like many pros do on the commercial side.
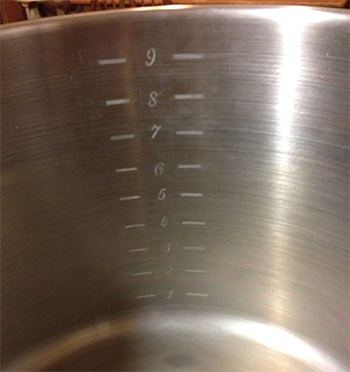
Learn an easy, safe way to add permanent measuring markers on your stainless steel brew kettle.
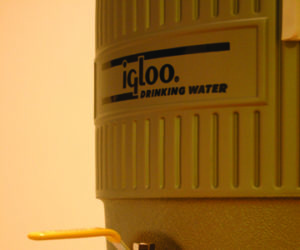
Looking to try all-grain brewing, but worrying about the cost of new equipment? Learn how to build an inexpensive mash/lauter vessel.

Want to build your own quarter or half-barrel brewing system? We'll take you step-by-step from stainless steel tubes to a sturdy stand for a three-vessel brewing system capable of brewing 5 to 13-gallon (19-49 L) batches of beer.
